This section contains all the functions related to using the
mipmapping functions. Before using these functions you
should have enabled mipmapping for the required texture pages in
the Texture Group
Editor and/or enabled mipmapping for those sprites that have
been set to use only a single texture page from the General
Game Options. The image below shows the difference mipmapping
can make when rendering your project: 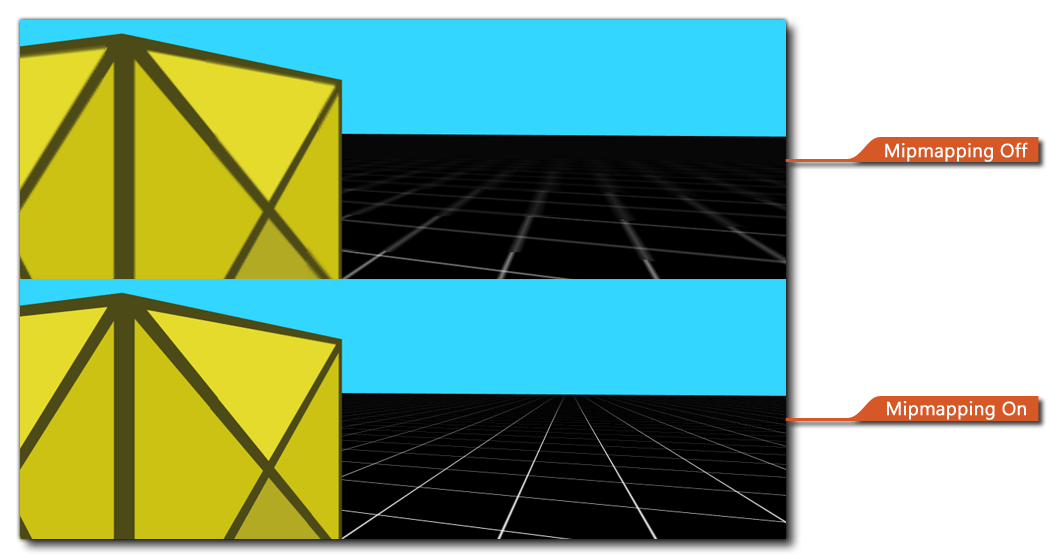
Once you have enabled mipmapping for the project or a texture page, you can then use the following functions to get and set values which will change how things will look in your project when run:
The functions listed below can be used to get the different values associated with mipmapping in GameMaker Studio 2:
The functions listed below can be used to set the different values associated with mipmapping in GameMaker Studio 2: